Here is a step-by-step DIY to build your own Intel based Mini PC WAN Optimization Device with TOFFEE. I chose this below Intel Celeron Mini PC since it is fan-less aluminum case and as well it has 2 dedicated inbuilt Gigabit Ethernet ports. You can use one for LAN Network and one for WAN Network.
Unboxing pictures of the same:
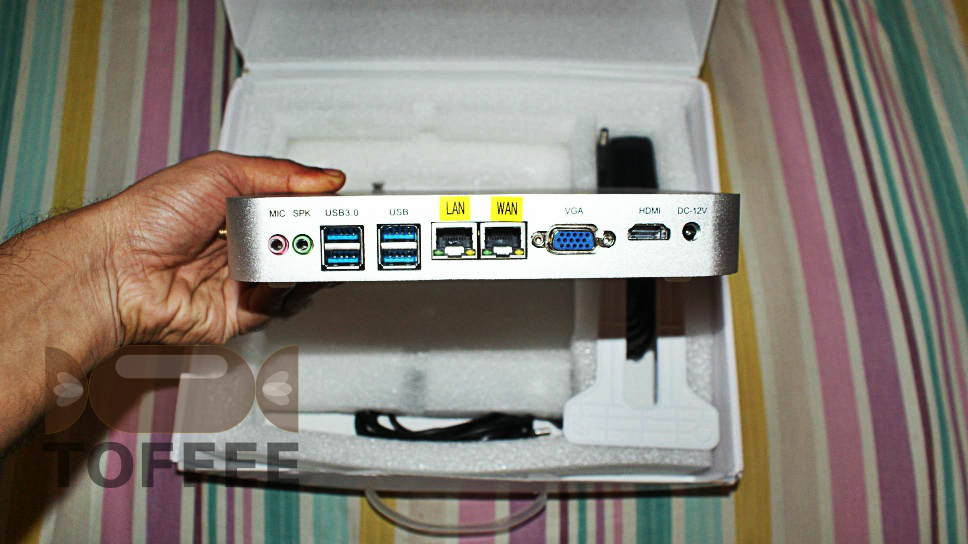
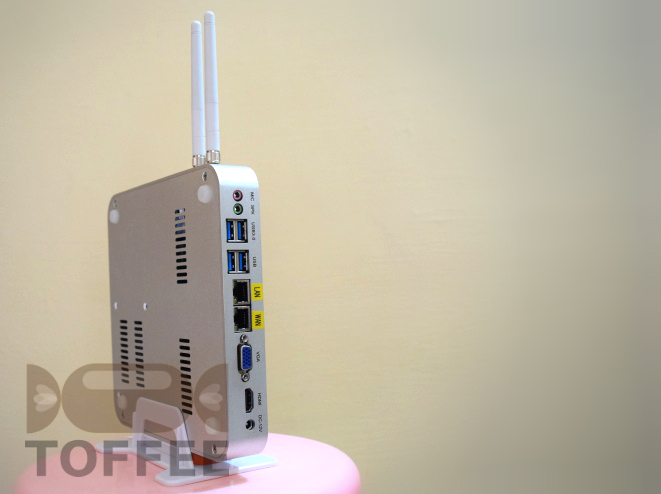
Here is the view of the device. You can see here it has dual Gigabit Ethernet ports. Although it has Gigabit Ethernet, since this hardware configuration is limited, you can use similar device to process (optimize) up to 30-50Mbps of WAN Network via TOFFEE. I printed with my CASIO Label printer and labeled each Ethernet port as shown below as: LAN and WAN
NOTE: Labeling the Ethernet ports is quite important since if it is wrongly configured in TOFFEE, it can cause complete failure of network connectivity. As it may leak TOFFEE optimized packets into LAN Network.
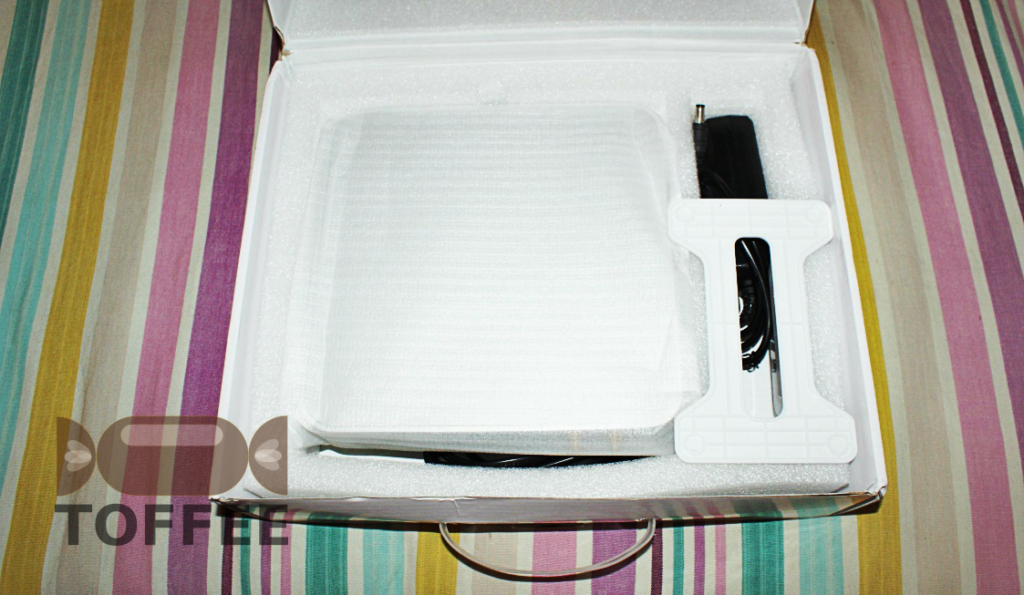
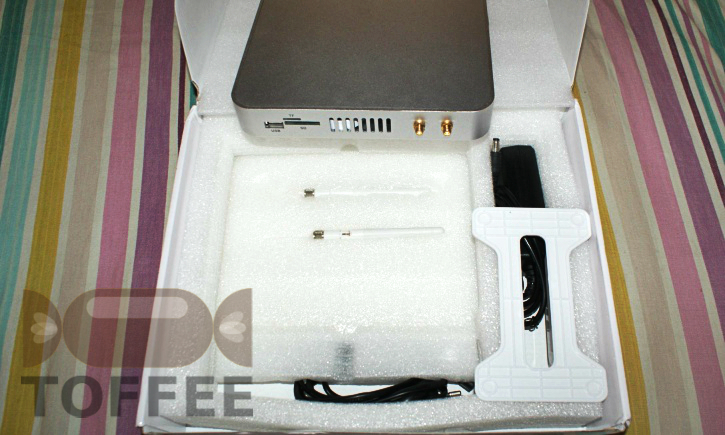
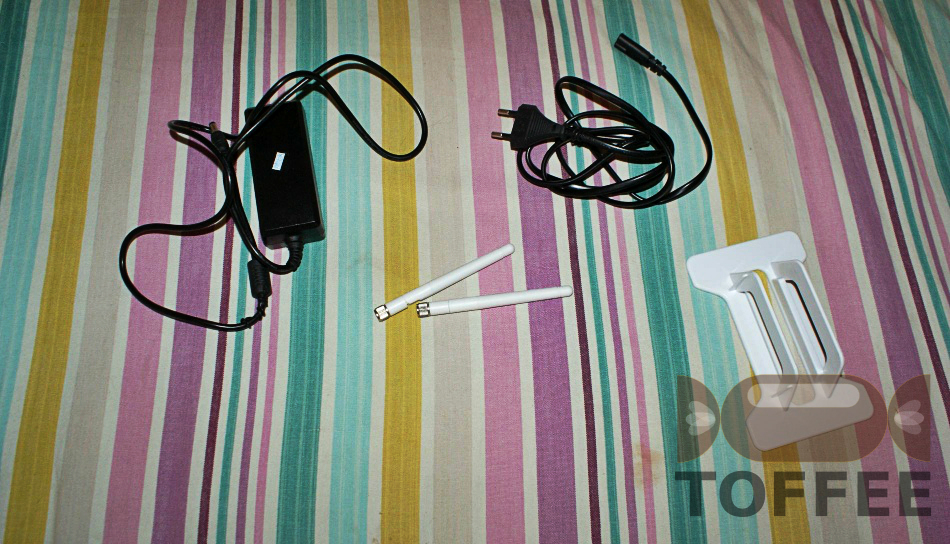
This device which I got came with a white high-quality plastic stand just the way you find in many old D-link and Belkin Wifi routers. Along with it they have included the power-supply adapter and 2x Wifi Antennas as you can see below.
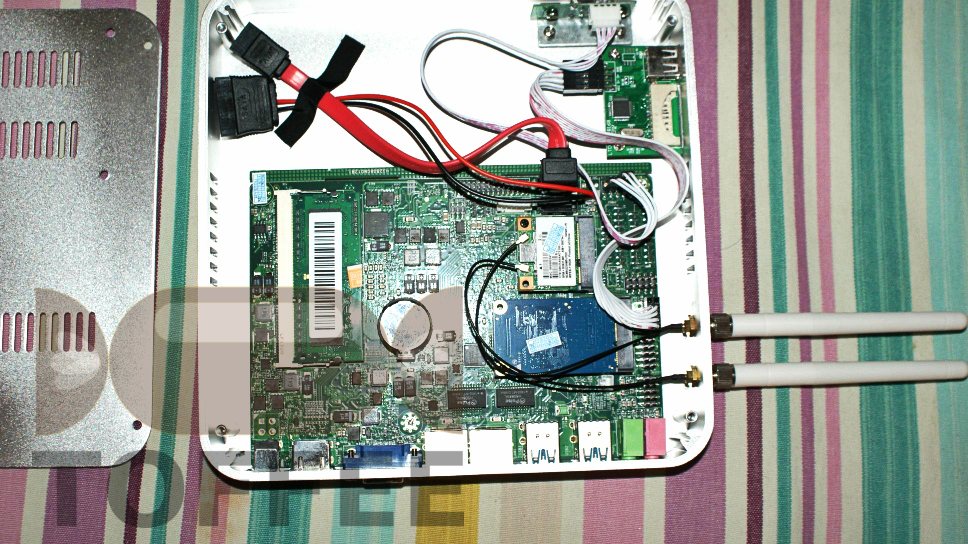
If you open the device you can find the board inside. As you can see it came with a laptop DDR3L RAM, Wifi Card to which external Antennas can be connected. For storage (or your TOFFEE Firmware) you can either connect a standard Laptop 2.5” HDD or SSD drive or you can choose to use the mSATA SSD drive. I purchased a tiny 32GB mSATA drive. This standard Ubuntu x86-64 Desktop fits in this mSATA drive. And as well there is lot of extra storage you get to install TOFFEE and any optional debugging tools such as Wireshark and so on. Although you cannot use a 32GB drive to compile any Ubuntu kernel since the SSD storage space is quite limited.
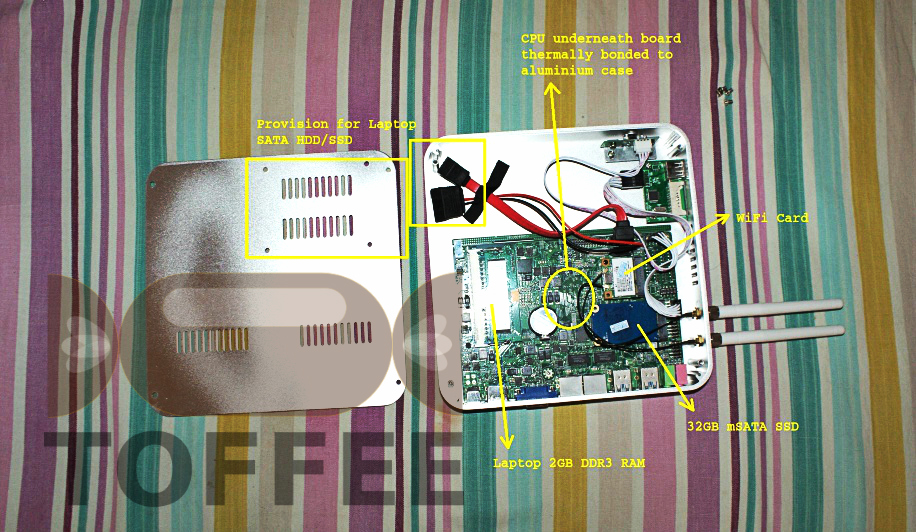
The CPU is thermally bonded to the outer aluminum MiniPC case. So when the device is powered on, the case slightly heats up.
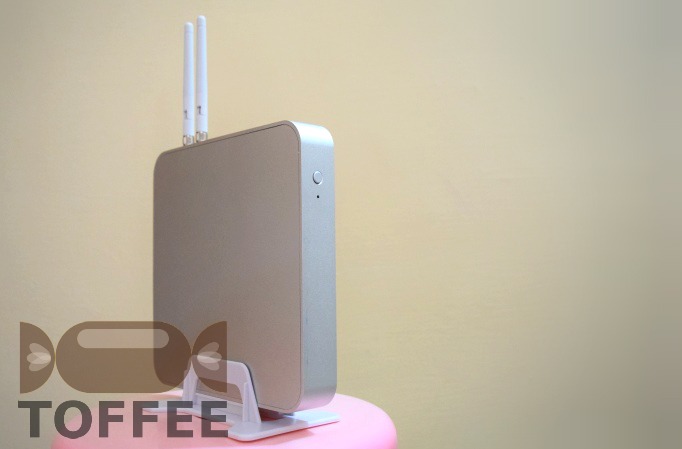
Here are the external pictures of the MiniPC fully assembled.
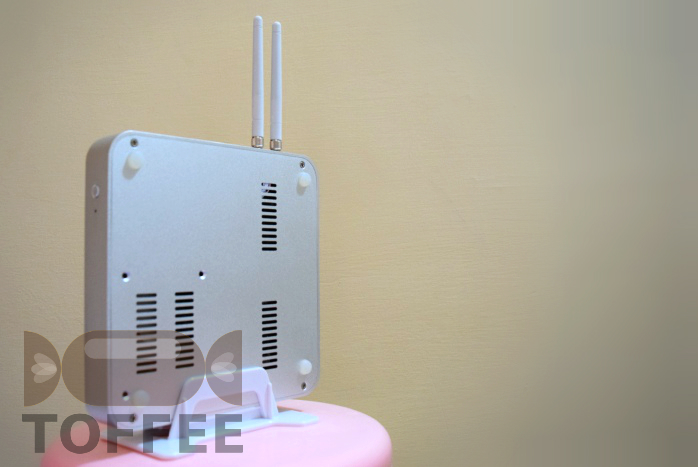
As I mentioned above since the case is made with aluminum, it will naturally dissipate the heat generated by the CPU as well in case if you choose to use any standard 2.5” notebook SSD or HDD drive. Here are heat vents behind on the back cover so that there is some natural airflow.
You can find the bottom cover also includes small silicone bushes so that you can keep this horizontal on a table or fix it in the plastic stand (included in the package) and place it vertical. In my opinion placing it vertical as shown below is the best choice since it allows uniform airflow and moreover the device looks cool as you can see below.
Here is its other view where you can see its ports. You can connect standard Monitor via VGA port or via HDMI port. You can also connect your USB mouse and keyboard. It has also USB3.0 ports.
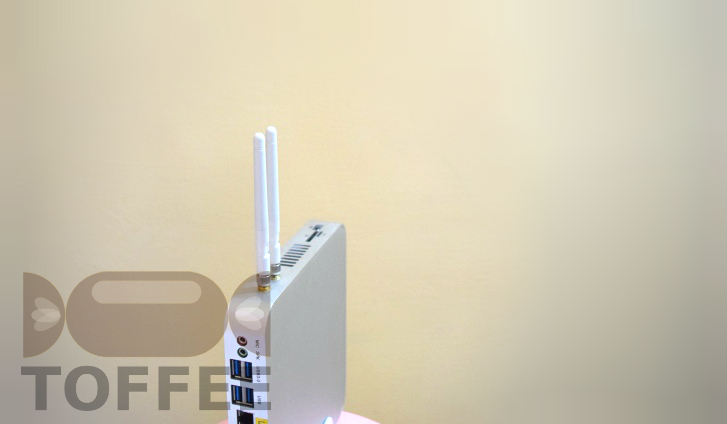
At its top near the antennas it has provision to connect USB storage, microSD and SD-card. These slots are quite handy if you choose to extend its storage temporarily with these options. I am not sure you can connect a USB keyboard or mouse to this port. Since when I checked it worked only with USB storage flash drives only.
Here are the technical specs of this Intel MiniPC:
- Intel Celeron C1037U Processor (fanless)
- 2GB DDR3 Laptop RAM (DDR3L)
- 32GB mSATA SSD
- 2x Gigabit Ethernet
- Wifi port
- 2x USB3.0 ports
- 12v DC Power-supply
You can find the TrueBench performance benchmarks of this processor HERE which is around 226311120. This means you can use this safely to optimize 30-40Mbps WAN network speeds with TOFFEE. For more details about this processor refer official Intel® Celeron® Processor 1037U (2M Cache, 1.80 GHz) Specifications.
Installing TOFFEE:
Kindly refer the TOFFEE Documentation HERE. This MiniPC is a standard x86-64 device so you can follow same installation steps.