Most students who start getting into embedded systems can start their journey exploring options such as Raspberry Pi and as well as Arduino UNO. But most of the times students tend to get confused with both these frameworks.
So what are the fundamental differences between Raspberry Pi vs Arduino UNO ? A Raspberry Pi is a complete single-board-computer (SBC in short) vs an Arduino UNO is a programmable micro-controller board. So working with Arduino UNO teaches you fundamentals of programmable micro-controllers. So with this knowledge you can design and build various interesting DIY projects where it requires to control and automate things. It could be sprinkler systems, timer systems, watering systems, even home appliances such as washing machines, so on. And with add-on boards you can add extra support like Wifi, wired networking, Bluetooth and so on.
Whatever is possible in Arduino UNO is also possible in Raspberry Pi. But the main advantage of Raspberry Pi is that we have an entire CPU/RAM/Storage computer with its own embedded OS (mostly a trimmed down version). On top of it, we have the GPIO pins, with which we can do whatever possible via Arduino UNO. We can choose any language of choice to control things connected via these GPIO pins. And it is the Linux Kernel drivers actually controls these pins. A platform independent user-space interface typically provided by the Linux Kernel via /sysfs. If you are curious you can learn more about Linux Kernel sysfs filesystem HERE. Since we have a full-fledged SBC, we can make interesting highly capable IoT devices out of this framework. Unlike Arduino UNO, Raspberry Pi has already Wifi, wired networking, Bluetooth support. We can even write and deploy a cool looking UI interface etc.
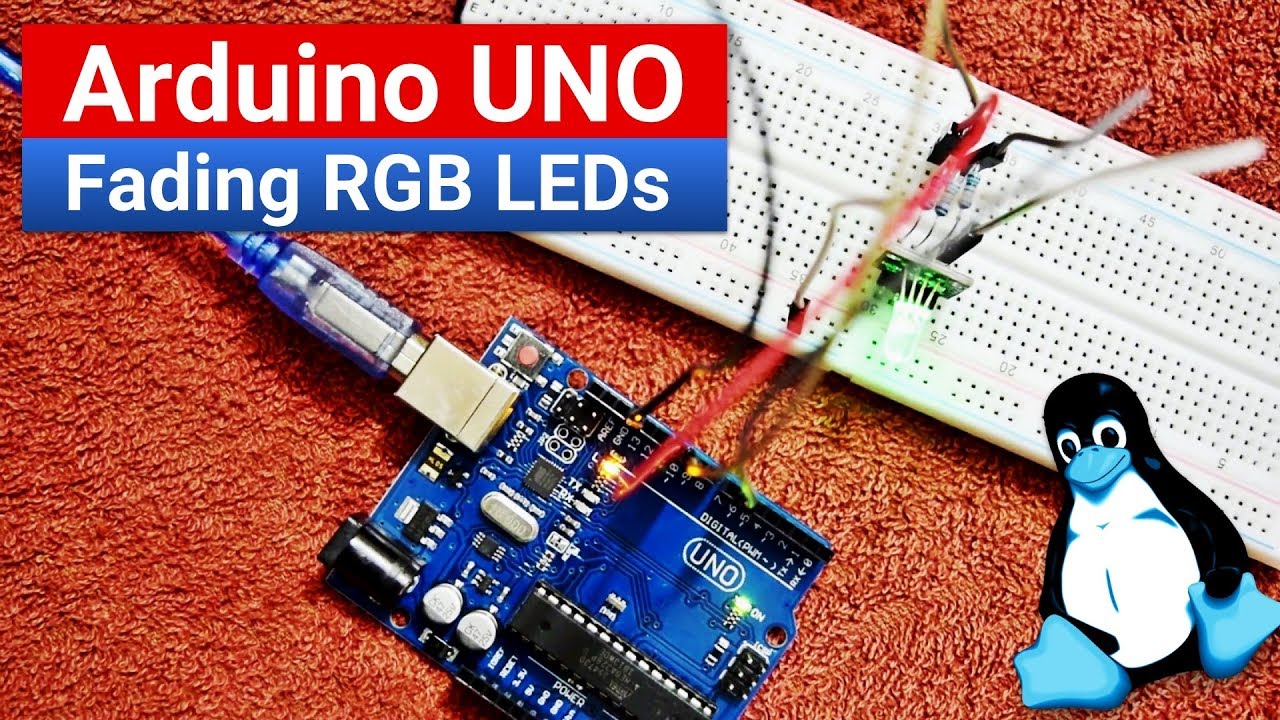
Of course the drawback of Raspberry Pi is the power consumption, form-factor (at times, not always these days), vs Arduino UNO. Since Arduino UNO is a micro-controller, it runs micro instructions. And the programs we write in their toolkit will be translated into micro controller instructions. So here is an interesting YouTube video in which I explain how you can interface a simple RGB LED module to Arduino UNO and you can cycle them slow fade from one color to other. If you don’t have this RGB module like mine, then you can use three discrete individual Red, Green and Blue LEDs too. Since LED is a low power component, you can power directly (i.e without any auxiliary power supply and control the LEDs via relays) via Arduino UNO with a set of current limiting resistors as discussed in the video.
Here is my sample source-code discussed in the video:
/* The Linux Channel
 * Code for Video Episode: 0x191 Slow RGB Fade via Arduino UNO
 * Author: Kiran Kankipati
 * Updated: 25-Dec-2018
 *
 * adopted from Examples => Basics => Fade
 * http://www.arduino.cc/en/Tutorial/Fade
 *
 * DISCLAIMER:
 *  1. This is just a simple sample code with little bit of my own touch.
 *  By no means I write a real production code this way. It will be much more streamlined
 *  and organized within APIs and data-structures as much as possible.
 *
 *  2. If you are beginner or a student, put more emphasis in writing simple straightforward
 *  easy to understand functional code. Always focus on end application/result than writing any
 *  complex cryptic code in an attempt to express your coding skills.
 */


int redled = 11;
int greenled = 10;
int blueled = 6;
int i=0;
int k=0;
int incrementdelay=5;
void setup() {
  pinMode(redled, OUTPUT);
  pinMode(greenled, OUTPUT);
  pinMode(blueled, OUTPUT);
}


void ledUpDown(int led)
{ for(k=0;k<255;k+=5) { analogWrite(led, k); delay(incrementdelay); }
  for(k=255;k>=0;k-=5) { analogWrite(led, k); delay(incrementdelay); }
  analogWrite(led, 0);
}

void loop() {
  ledUpDown(redled);
  ledUpDown(greenled);
  ledUpDown(blueled);
  delay(2000);
}